
Guide
Terminal Mode lets you run a full 7Stamp loyalty program directly on an existing Android payment terminal. There is no new hardware to buy and no app for the customer to install.
Run Terminal Mode on a payment terminal
Terminal Mode lets you run a full 7Stamp loyalty program directly on an existing Android payment terminal. There is no new hardware to buy and no app for the customer to install — the loyalty card lives in Apple Wallet or Google Wallet, and everything happens on the terminal that already sits at checkout. This guide walks through installing the app, opening Terminal Mode, serving a customer, adding stamps, and redeeming rewards.
What you need
- An Android payment terminal at checkout.
- The 7Stamp Scanner app installed on it.
- A Staff Login (created in the admin panel under Staff → + CREATE).
- A working internet connection on the terminal.
Step 1 — Install the 7Stamp Scanner app
Install the app from Google Play, or download the package directly from https://downloads.7stamp.com/7stamp-scanner.apk. The direct APK is the fastest way to deploy the app across a whole fleet of terminals from one place.
Step 2 — Log in with your Staff Login
Open the app and sign in with the Staff Login you created in the admin panel. After login, the app links to your business profile automatically.
Step 3 — Open Terminal Mode
From the side menu (☰), switch to Terminal Mode. The main screen shows a large Serve customer button.
Step 4 — Serve a customer
- The customer pays for the order on the terminal as usual.
- The 7Stamp Scanner app opens — automatically with light integration, or with one tap by the cashier.
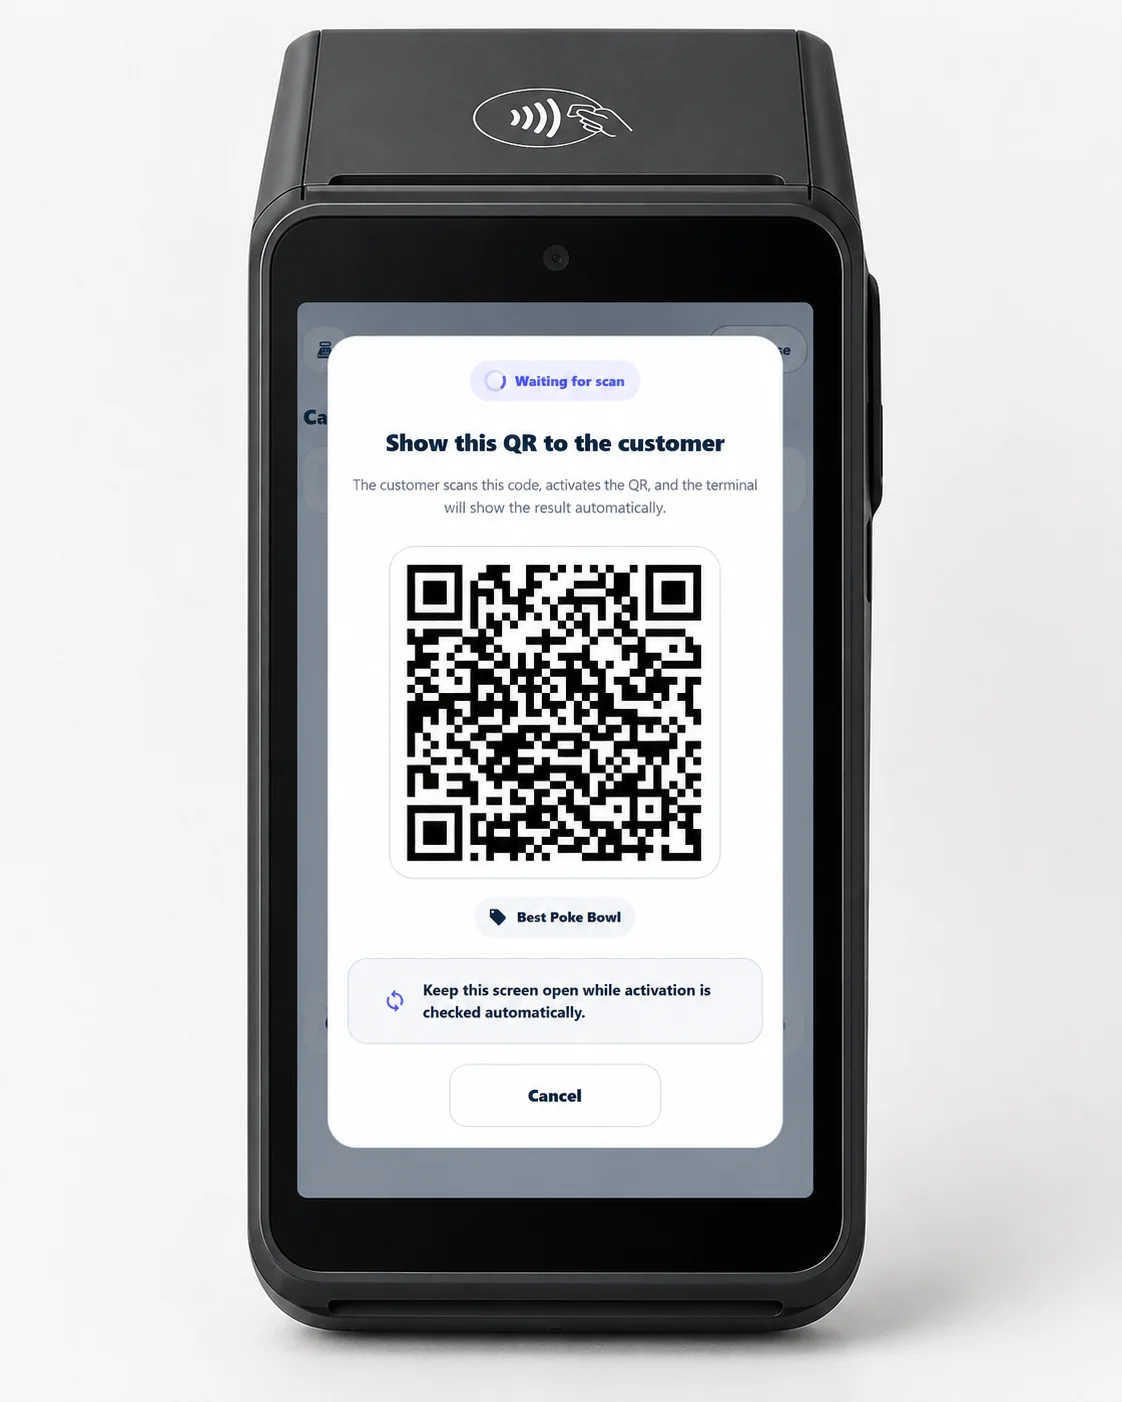
- Tap Serve customer. A unique, dynamic QR code appears on the terminal screen.
- The customer scans the QR with their phone camera. If they have no card yet, it is created in seconds and saved to their wallet with the first stamps added. If they already have a card, it updates instantly.
Step 5 — Choose how stamps are added
Stamps follow the rule set on the card:
- Fixed: one stamp per purchase, regardless of the amount.
- By amount: the cashier enters the receipt total on the terminal, and stamps are calculated from it.
Step 6 — Hand over rewards
When a goal is reached, the terminal handles the reward by type:
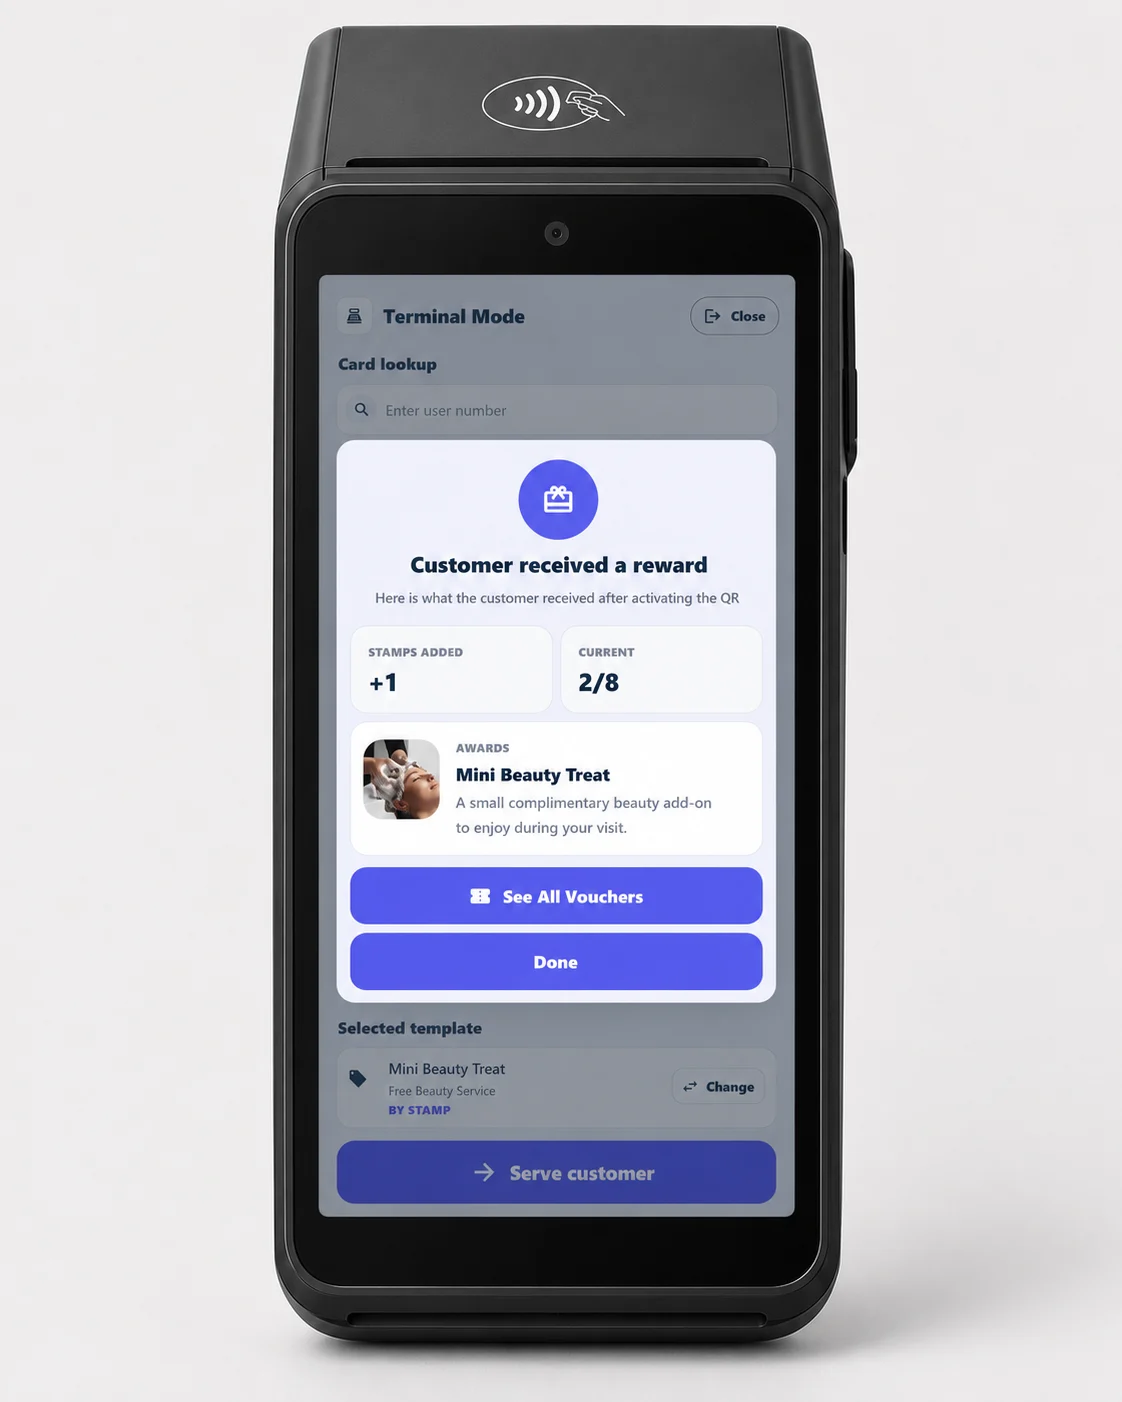
- Award (instant gift): the terminal prompts the cashier to hand over the gift.
- Smart Voucher (deferred): on a later visit, open the customer’s vouchers on the terminal — or enter the voucher number — and redeem one in a tap. Once redeemed, the voucher cannot be reused.
- Lottery (game): the customer spins the wheel on their phone, and the result appears on the terminal screen for the cashier.
Deploy across a fleet
For a terminal estate, use the direct APK to roll out and manage the app centrally across all devices, instead of installing it one terminal at a time.
Advanced integrations (on request)
Beyond the QR-based flow, 7Stamp supports more seamless terminal flows on request.
Tap to collect (Apple VAS / Google Smart Tap). On a VAS / Smart Tap–certified terminal, the loyalty card is read in the same contactless tap as the payment. Technically, the terminal’s payment application runs in Apple’s “Payment and VAS” mode (Google Smart Tap on Android Wallet): the payment app reads the encrypted pass and hands the loyalty identifier to 7Stamp, which credits the stamp. 7Stamp does not — and cannot — intercept the payment tap itself; during a payment the NFC field belongs to the payment kernel. This requires a VAS/Smart Tap–certified terminal, the merchant’s keys provisioned in the reader, and a payment application that supports the combined mode — so it is enabled together with the acquirer or terminal vendor.
Card-linked loyalty (payment-linked). No loyalty tap at all: the customer simply pays, and 7Stamp recognises the enrolled customer by PAR (Payment Account Reference) or another non-PCI stable token exposed by the acquirer / processor. Enrollment happens once through a short-lived QR session bound to that PAR; the pass install is the consent moment. Never use the PAN, and never hash the PAN. This flow is roadmap / technical feasibility under discussion and is best built with a payment partner.
Related
- Terminal Mode — feature overview.
- Acquirers & Payment Networks — partner and commercial details.
- 7Stamp Scanner Application — Manual / Autopilot / Kiosk — the other Scanner modes.